Add your first expense
Add your first expense
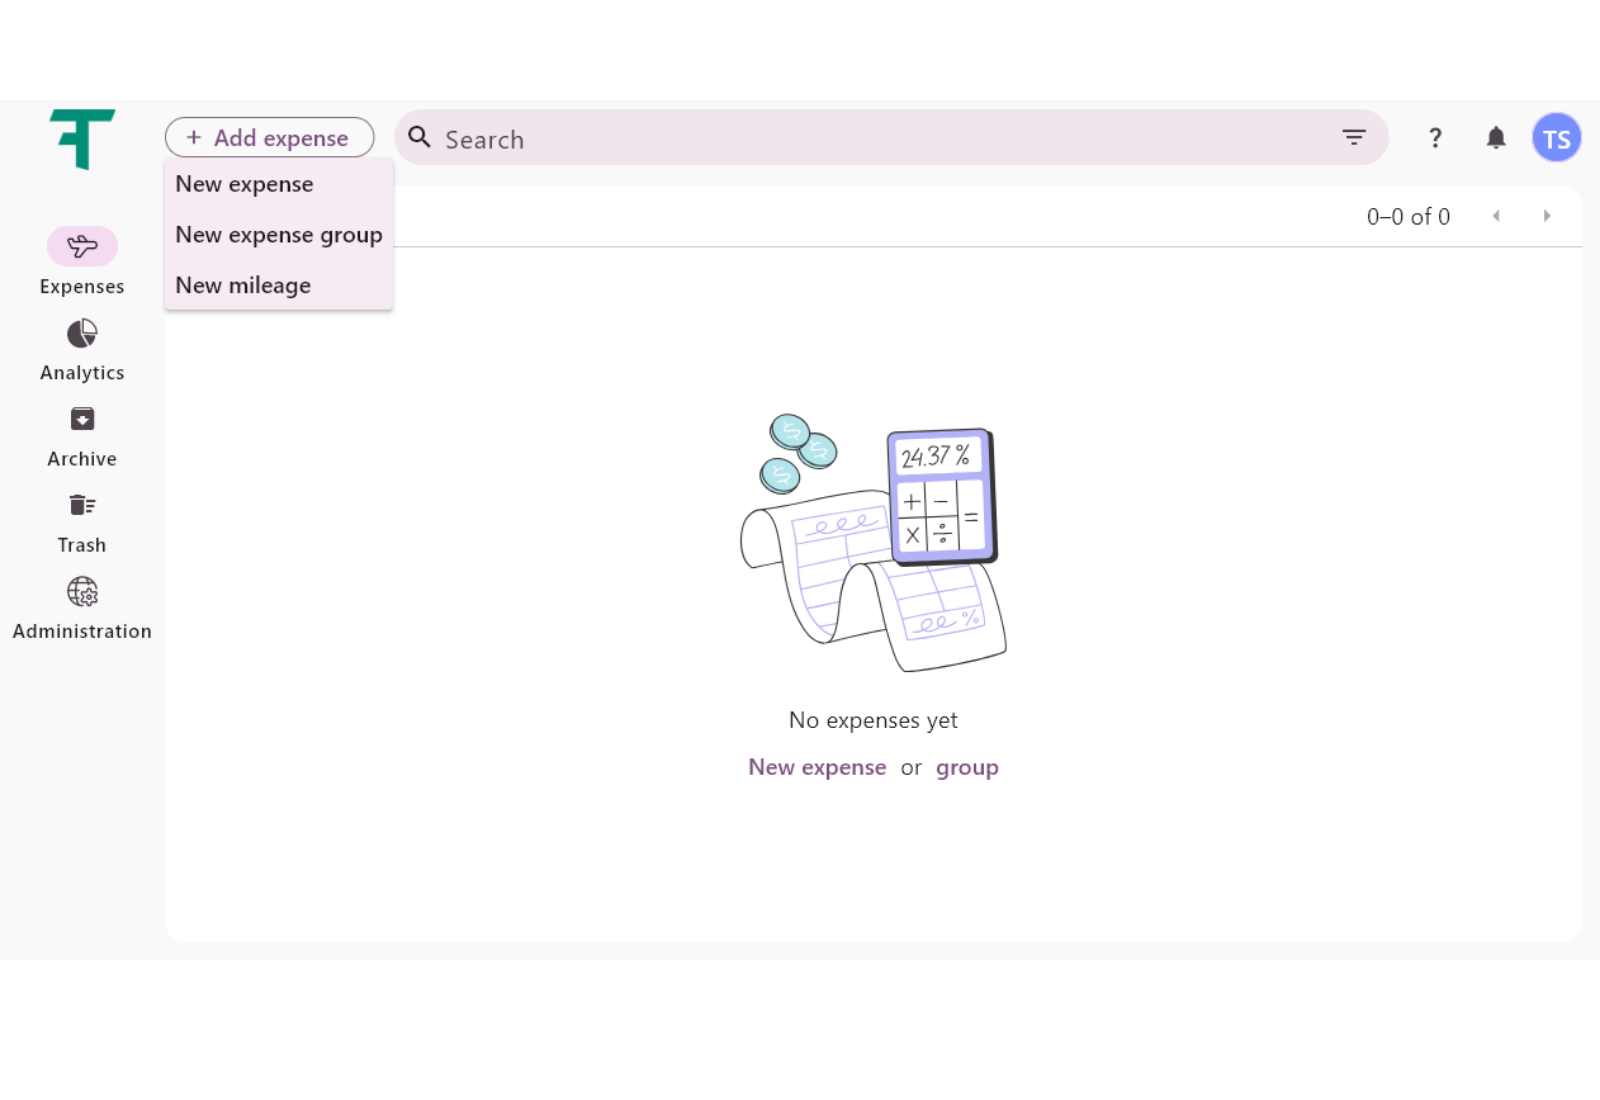
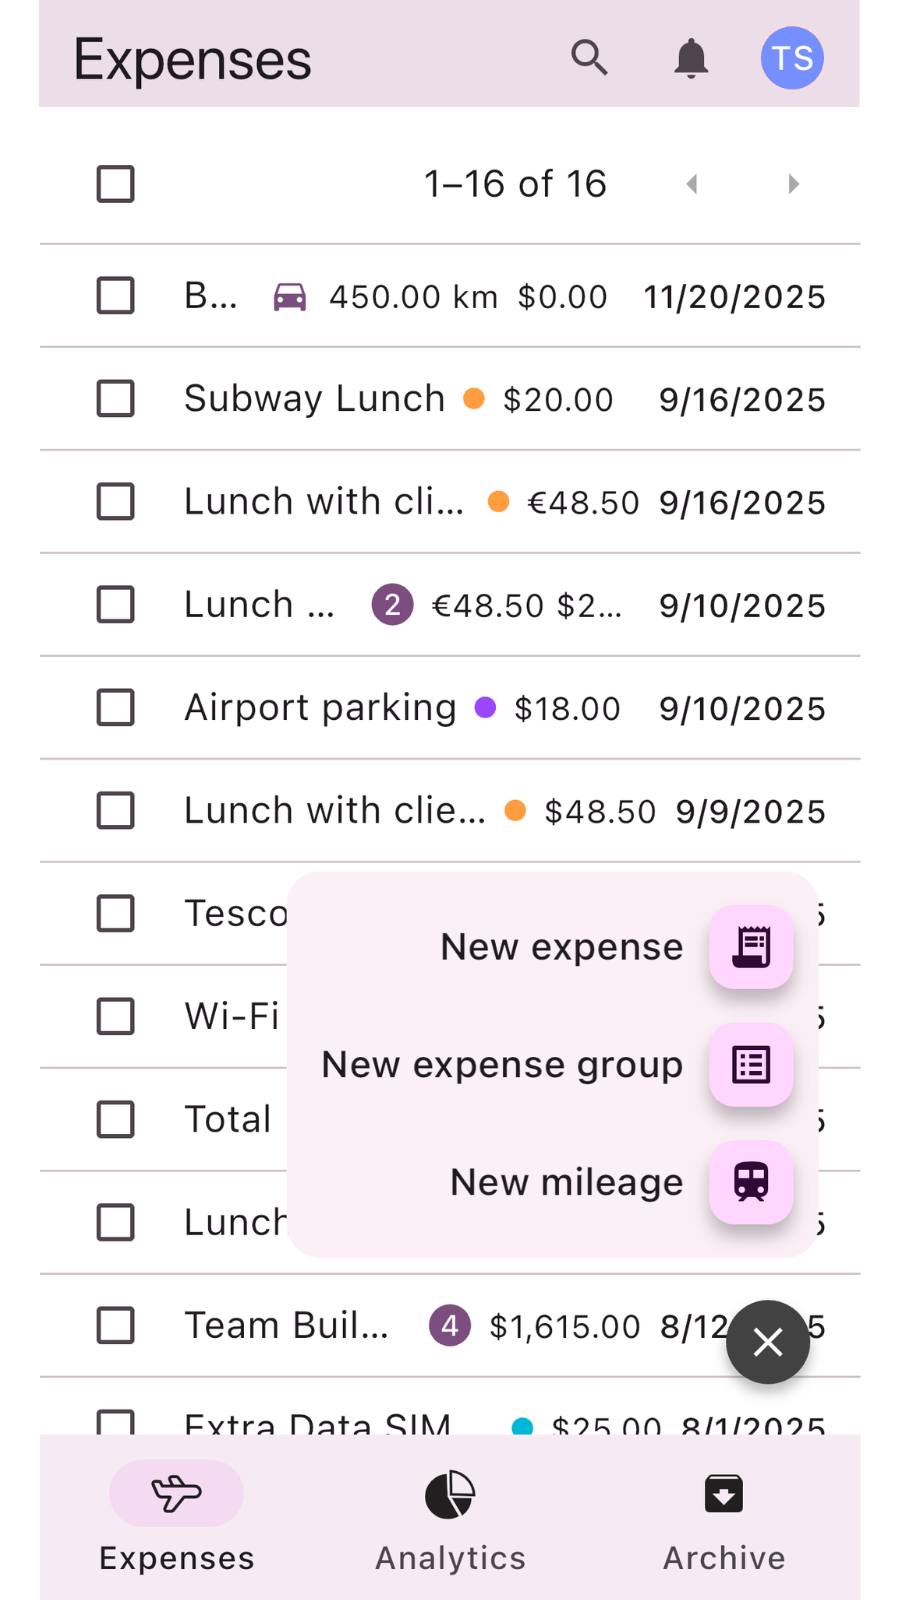
When you want to add a new expense, click the "Add expense" button next to the search bar.
You can choose between adding a new expense, an expense group, or a new mileage.
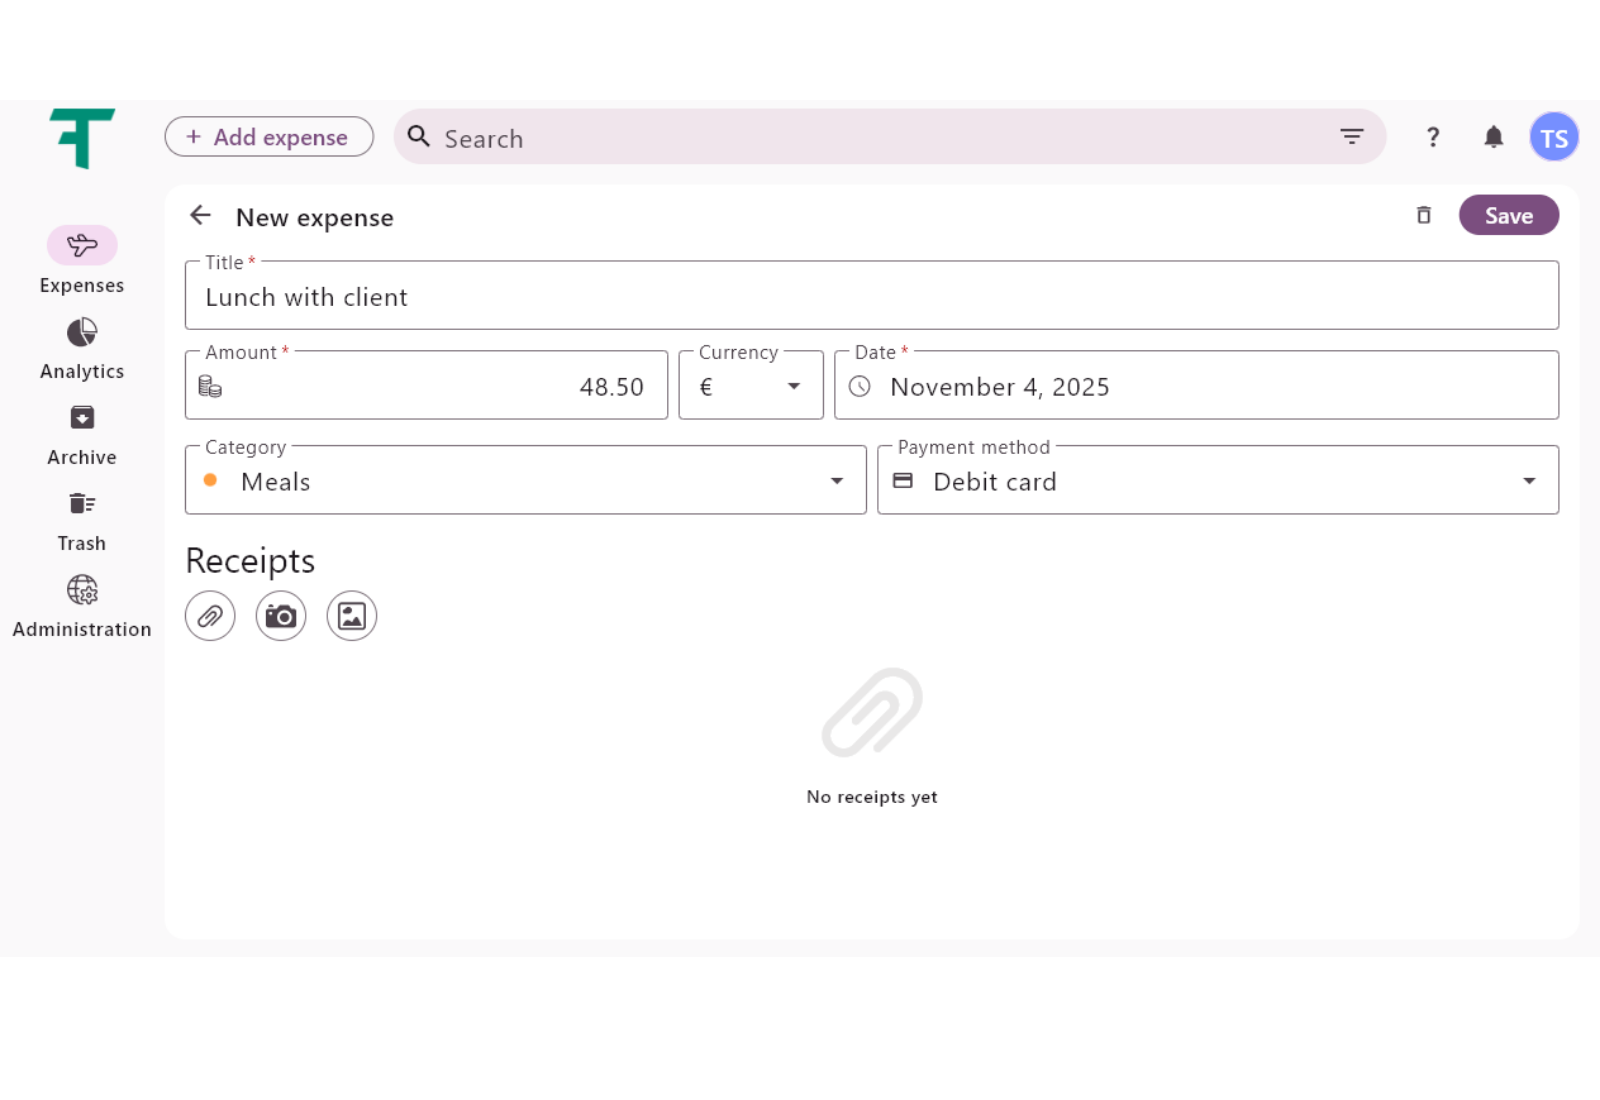
When you choose to add a new expense, a new window will appear. This is where you select the title of your expense, the amount, currency, and date. Adding a new currency is part of the Administration section. Next, you can attach files or images or take a photo if your device has a camera available. When choosing this option, the software will adjust your photo automatically so the receipt is legible.
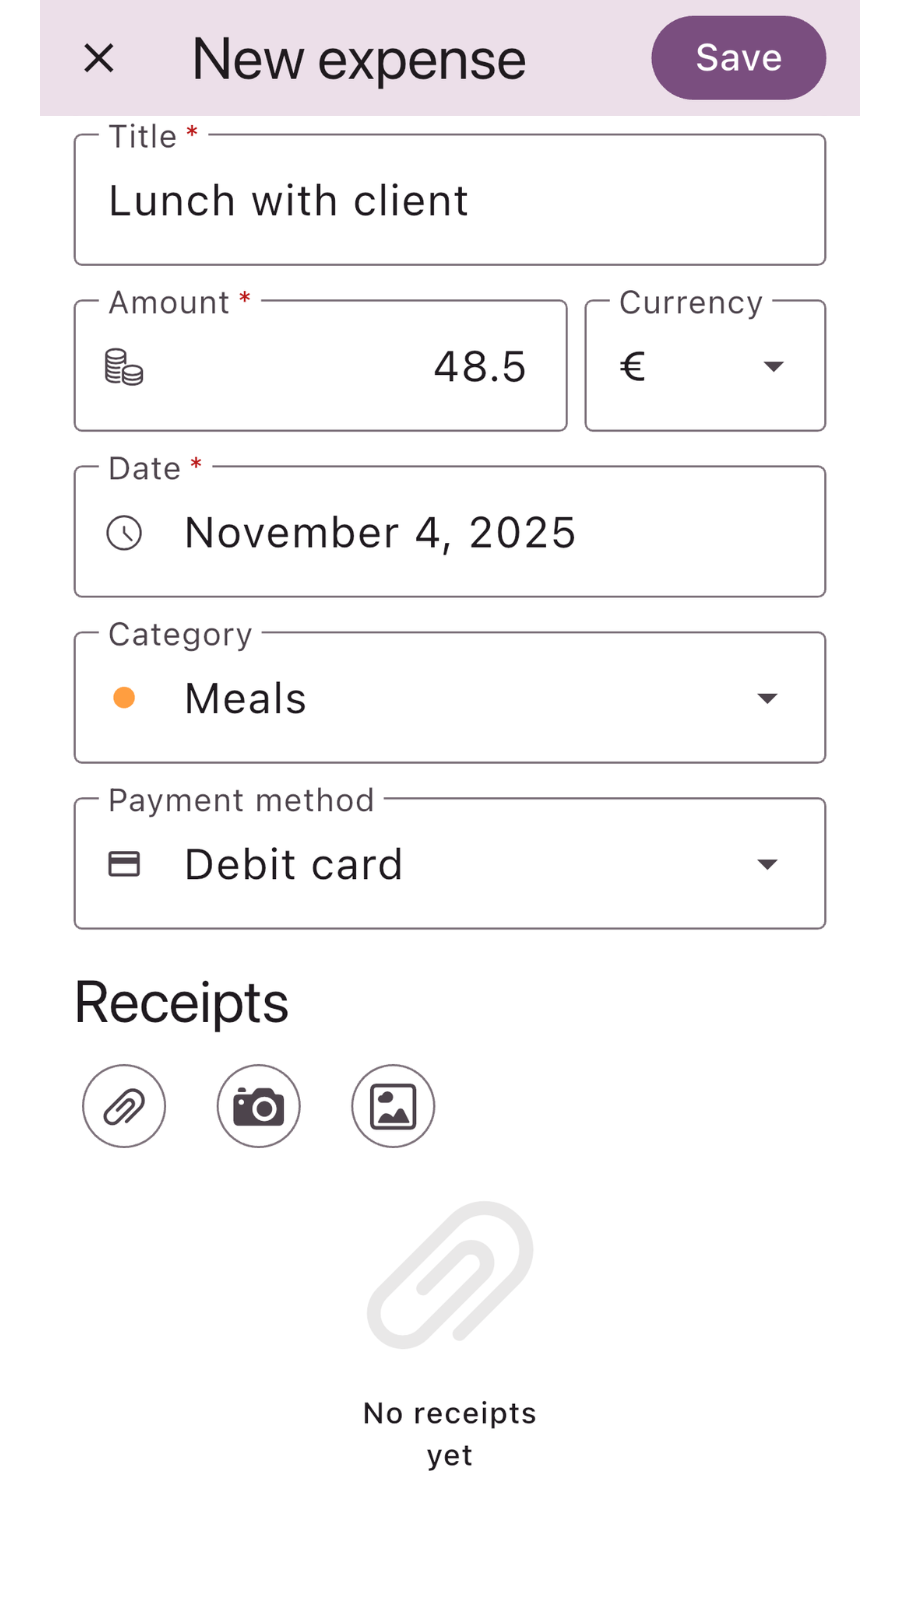
After filling out the information, click "Save" in the upper-right corner.
The new expense is now saved in the expense category.
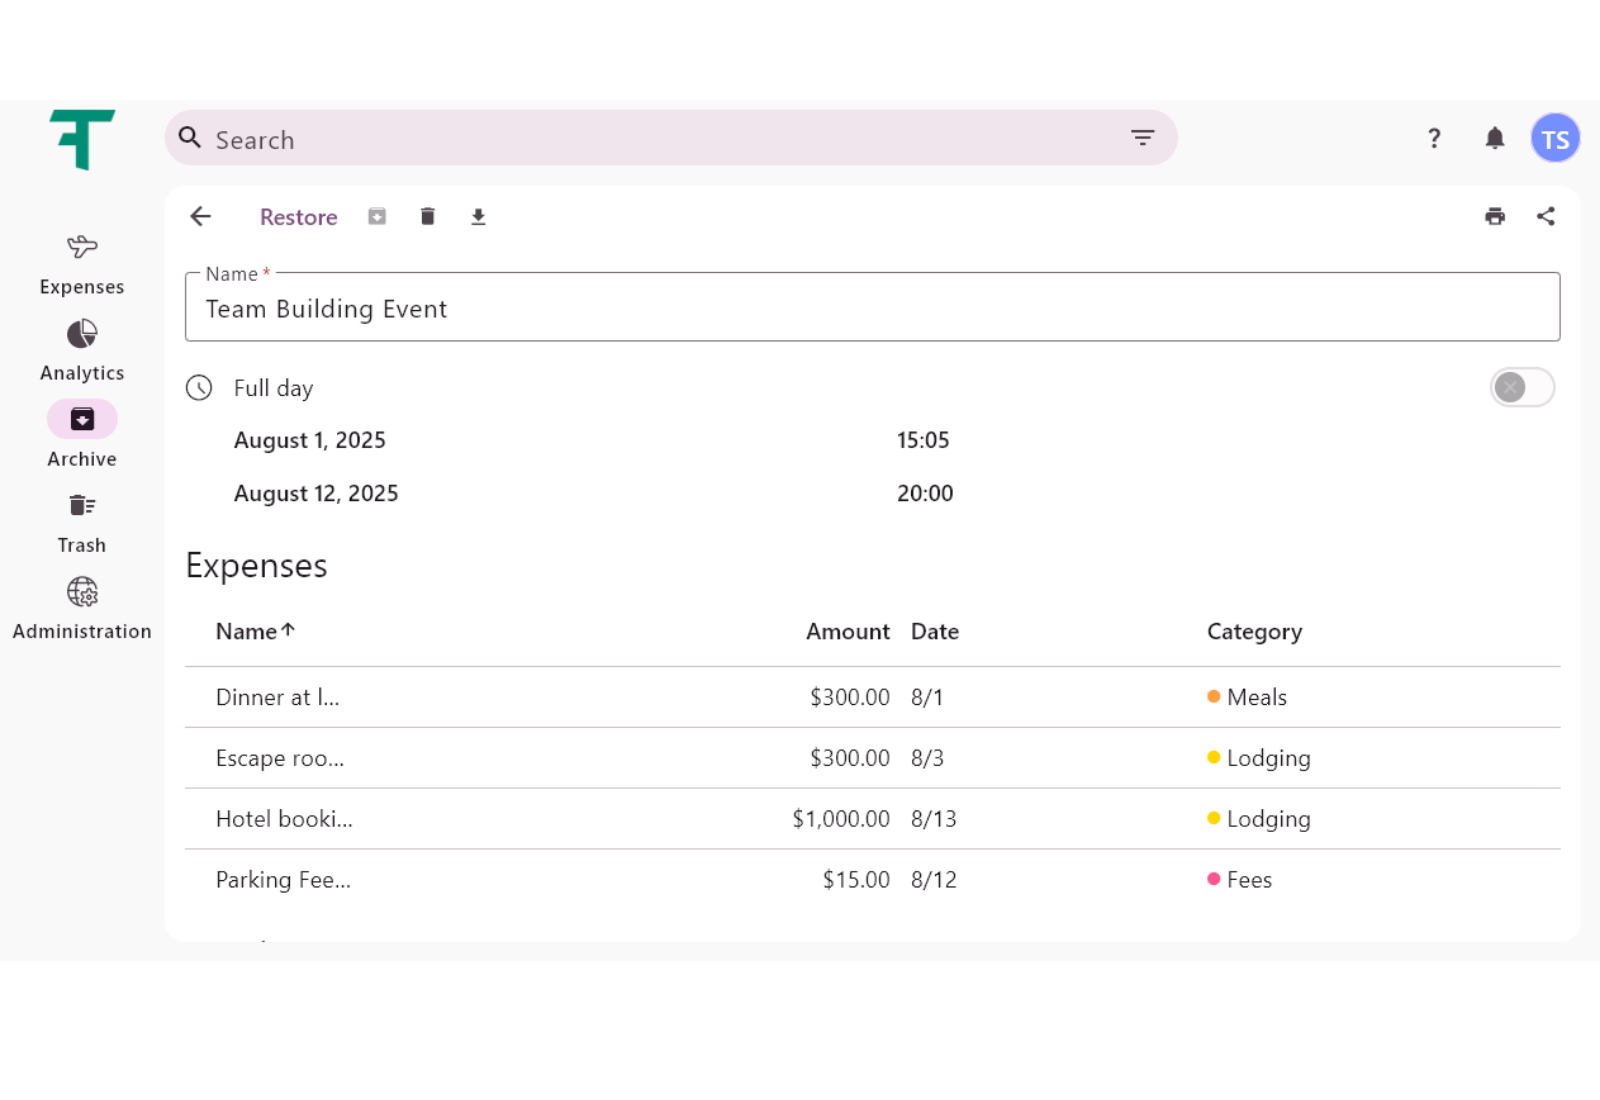
If you choose the "new expense group" option, you can select the group's name and add multiple expenses simultaneously. The number next to the expense group on the list indicates the number of expenses in the group.
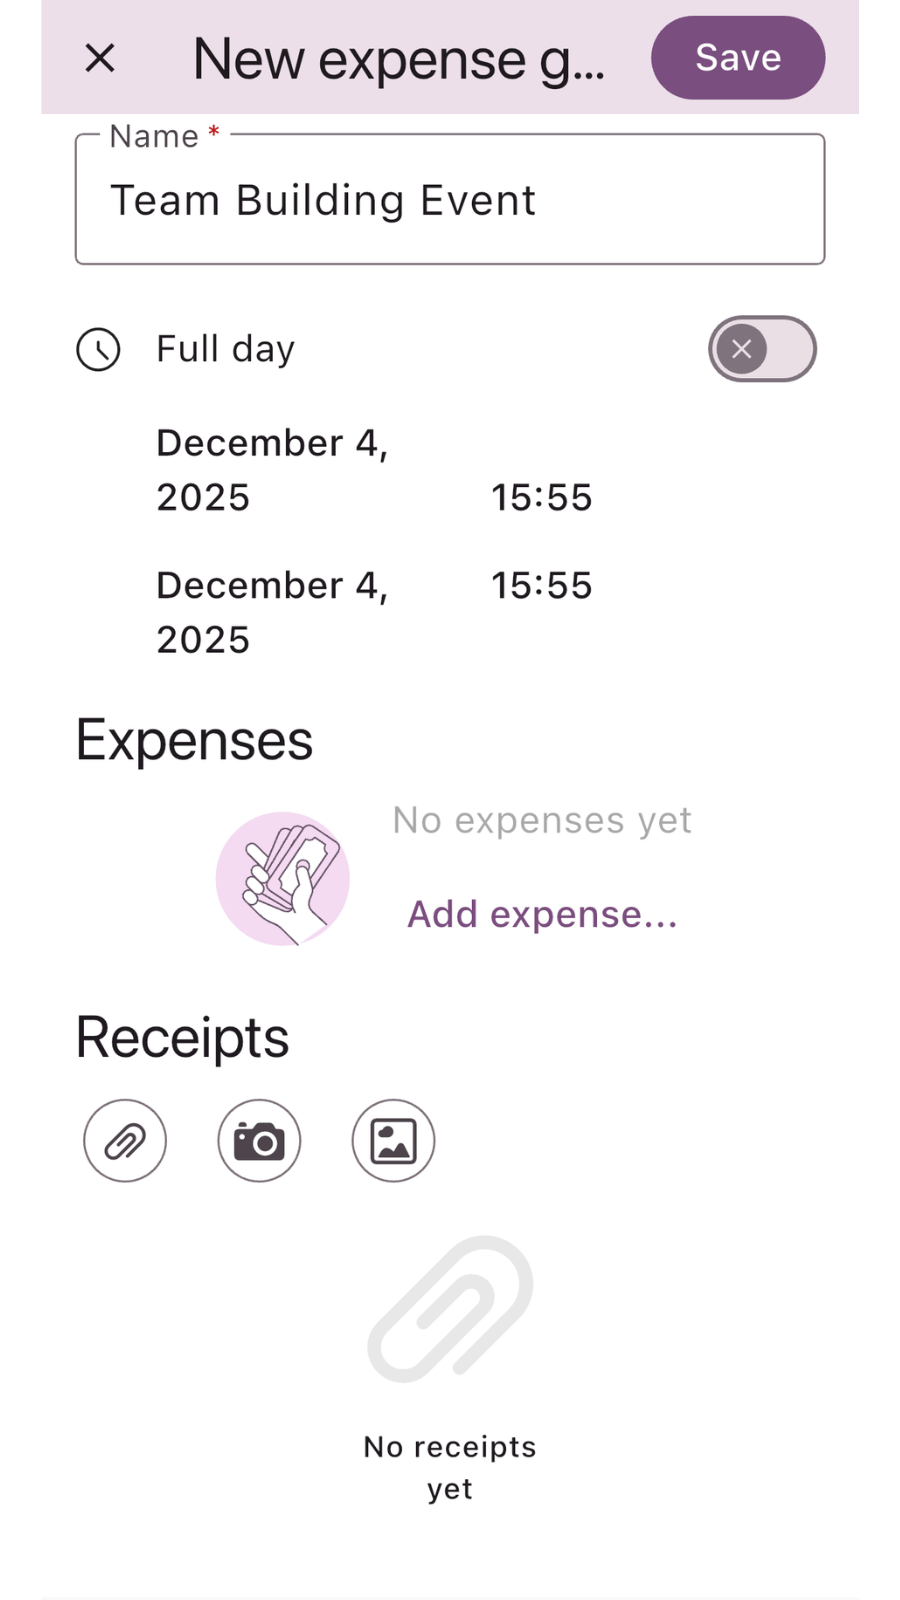
More info about Expense groups can be found here.
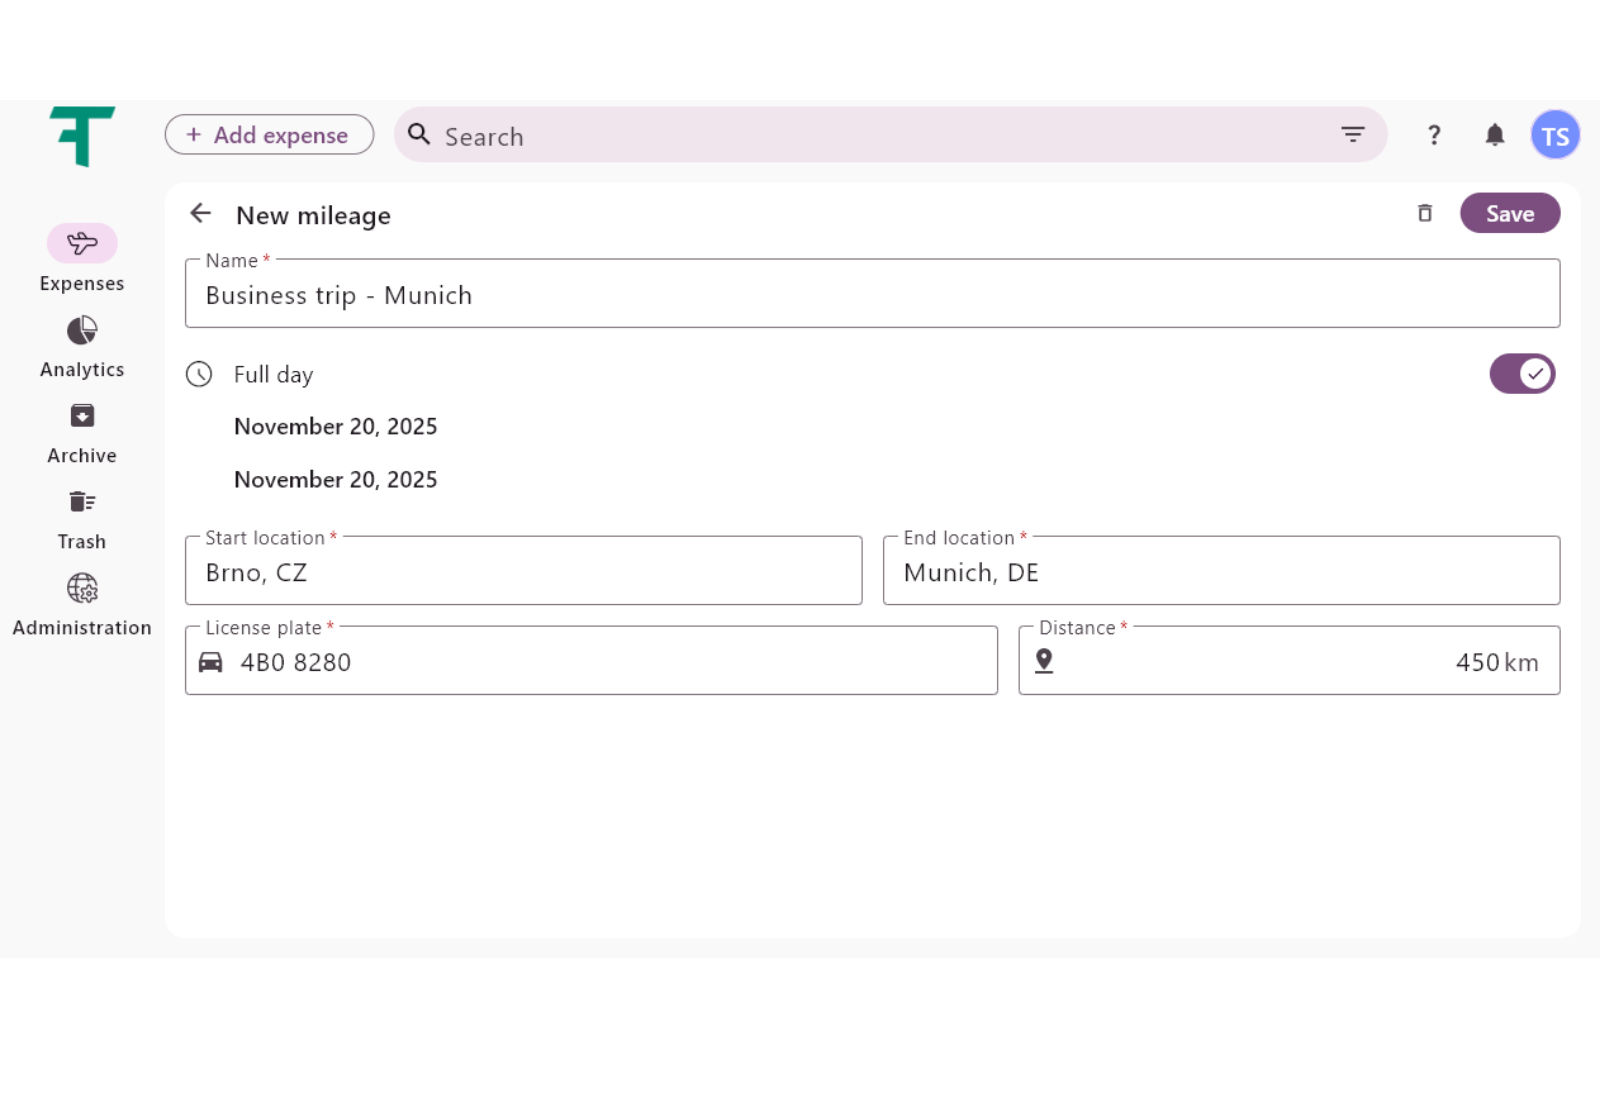
When you choose to add a new mileage, a new window opens to capture all required travel information. First, enter the name of the trip, which helps identify the trip's purpose. The default date and time are automatically set to the current day, but you can disable "Full day" to set specific start and end times for the journey. To calculate the reimbursement correctly, fill in the Start location and End location. You must also provide the License plate of the vehicle used for the trip. Finally, enter the total Distance traveled in kilometers, or another supported unit.
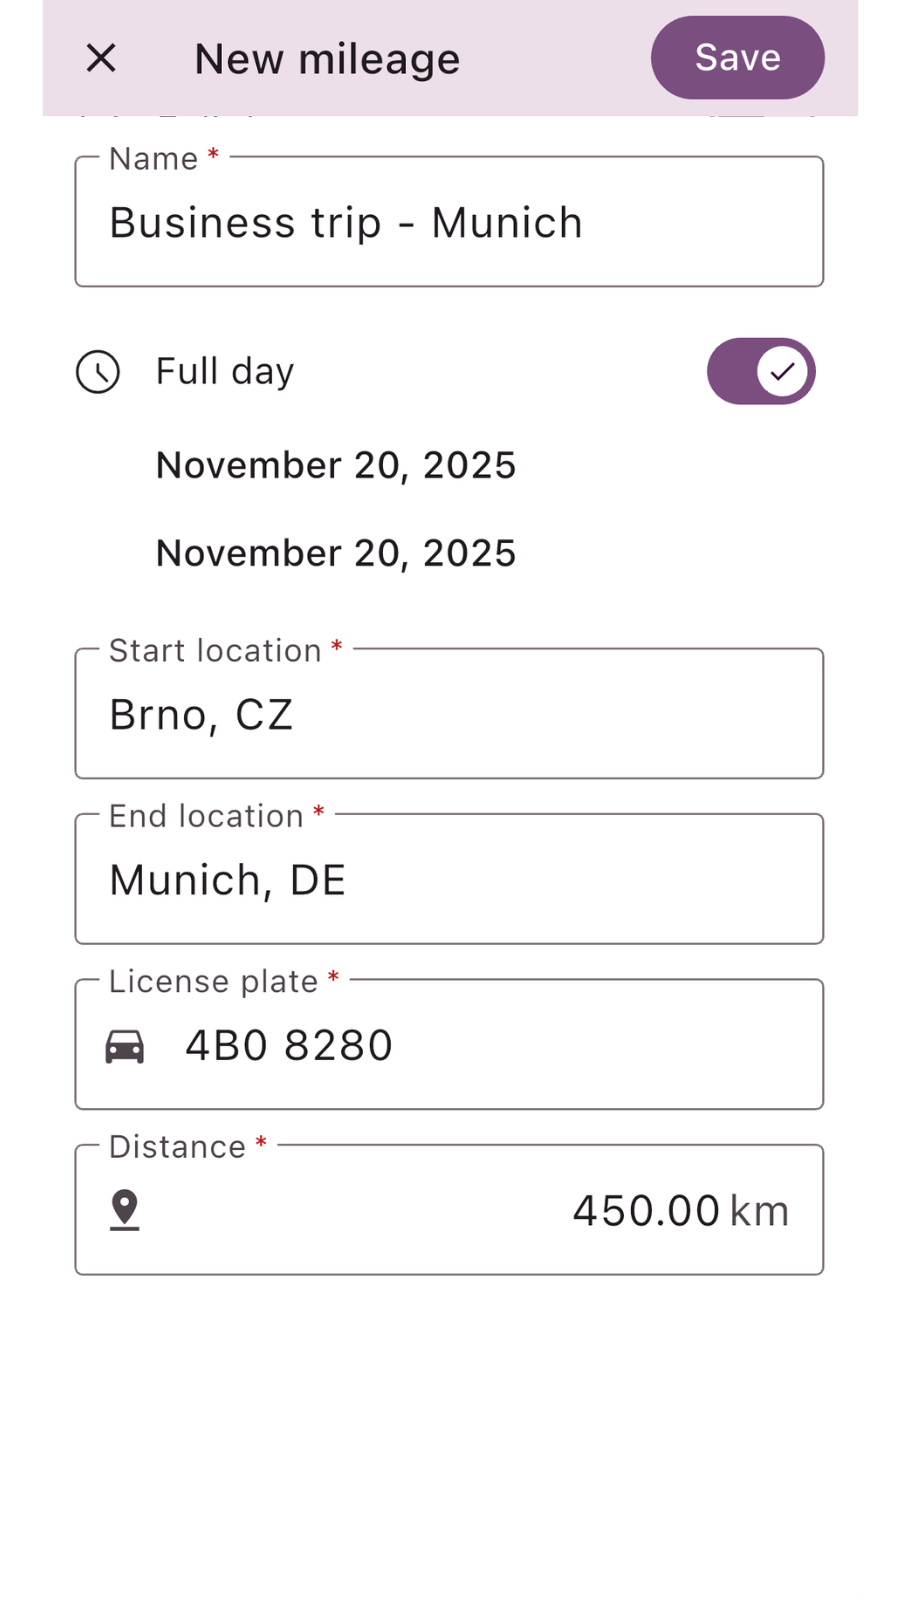
After accurately filling out all required fields, click "Save" in the upper-right corner. The mileage entry will then be saved to your expenses.
More information can be found on the Mileage rates page.
Expense management
Clicking on the expense will open the expense creation window, where you can edit the expense or attach more files.
After changing any information, the edit will be saved automatically.
Above the title of the expense, you can find four icons. These are:
- Star: Add a star to expenses to tag them as important or differentiate them. You can remove the star at any time. Archive: When you archive an expense, it is moved to the "Archive" section. There, you can revisit the expense at any time.
- Delete: The expense will be moved into the "Trash" section, where you can revisit it anytime. You may retrieve expenses from the trash for up to 30 days, after which it will be permanently deleted.
- Download: You can download the expense as a PDF.
In the upper right corner, you can find two more icons. These are: * Print: You can print the expense if a printer is available. * Share: You can share the expense to your email or someone else.
All these actions can also be done directly from the expense menu, where you can choose and perform these actions on multiple expenses at once. Click the checkbox next to the expense to select it, or click the checkbox above the expense list to select all expenses.
Related articles
How to delete your account
Step-by-step guide on how to permanently delete your account. Learn what happens during the process …
Read MoreUsing analytics
Learn how to leverage analytics dashboards to visualize, analyze, and gain actionable insights from your …
Read MoreGetting started
Kickstart your Traverse journey with our easy-to-follow Getting Started guide.Learn the basics, set up quickly, …
Read MoreAdministration
Manage settings with ease: add and customize currencies, expense categories, and payment methods to tailor …
Read MoreOverview of user interface
Explore the user interface overview to familiarize yourself with key features,navigation, and layout. Get a …
Read MoreArchiving and deleting expenses
Learn how to efficiently archive your expense records to ensure secure storage, easy retrieval, and …
Read MoreWas this page helpful?
